 After you’ve studied the Brugmansia Family Tree and set up your cross-pollination filing system for organizing your crosses, its time to begin collecting a variety of pollens for your hybridizing arsenal. An effective and efficient program depends on having pollens available when you need them. Plants tend to bloom in staggered flushes, so oftentimes flowers with pollens you wish to use as pollen donors simply aren’t in bloom. When this happens, you have a missed opportunity and may well lose a season of seed production.
The solution to the problem is frozen pollen. With this process, pollens are collected from flowers when they bloom, dried and frozen for future use. In the past, pollens were collected and placed in small plastic baggies after they were left in the open to air dry. The problem with that method was acceleration of pollen’s natural process of deterioration. The longer it remains unused, the less it’s viability. Keeping it enclosed in small Ziplock bags traps gasses that form as natural deterioration occurs and encourages microscopic fungi to form. All of it decreases viability. The less viable your pollens, the less successful attempts to fertilize will be.
Silica gel is an excellent desiccant. It virtually sucks moisture into itself and away from whatever its being used to protect from moisture. Whether its camera equipment, packaged electronics or a closet full of clothing, silica gel is designed to keep the environment it occupies dry. For this reason, it is ideal for drying pollens quickly. Time is viability’s enemy. From the moment it appears on your flowers anthers, your pollen’s deterioration clock starts ticking and the less successful it will be for fertilizing flowers.
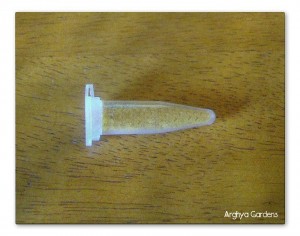
You should collect healthy anthers with powdery pollen as soon as possible. The best method for this is to set up a small tray with your micro tubes, Sharpie, tweezers and scissors, then make the rounds of your garden. When you first begin doing this, you may have to open flowers with a scissors in order to give you more room to work. Inspect each flower. If you see powdery pollen, gasp the anthers and gently guide them into the micro tube. You can either enclose the entire anther before the drying process, or you can return to your kitchen table, remove the pollen from the anthers and re-tube them (see video). Make sure to clean your hands between your visits to different Brugs. If you don’t, you run the risk of transferring pollens from your other Brugs to the next ones you work with. Remember, it only takes one pollen grain to successfully pollinate a flower. Universal precautions apply. Above all, make sure you label your microtubes correctly!
Once your pollens are safely inside your tubes, unsnap their caps and place them in a Ziplock container filled with silica gel. Close the lid. Three days drying time is ideal. After that, remove the tubes from the gel, snap the caps back on, place the tubes in a Ziplock bag, then either use them within a week’s time – or freeze them. Frozen pollens can be viable for up to a full year. So, use your fresh pollens quickly if possible, but if you can’t – use your frozen ones!
Here’s a short video showing collection and preparation for the freezing process. Good luck!

